What a simple way to create something that will last for your desk! Now you can make beautiful lasting roses out of Post-It Notes! Follow these simple steps and share your roses with us! Spray your favorite scent on them to brighten your day!
What you need:
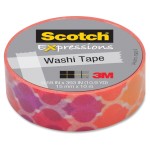
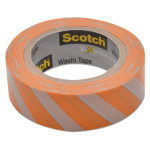
Scotch®Tape
Masking Tape
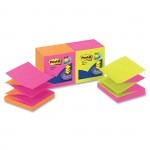
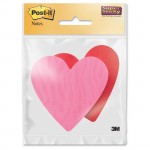
Post-it Notes
Green floral tape
Wire
Pencil
Cork
Scissors (and or utility knife)
Glue Gun
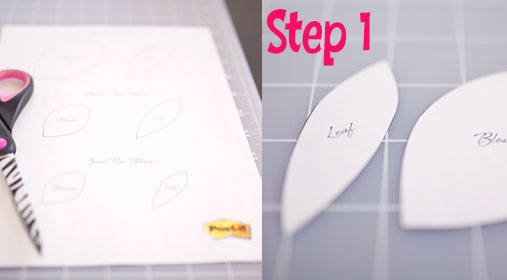
Step 1: Print out this flower template (PDF), then cut out the flower and leaf patterns.
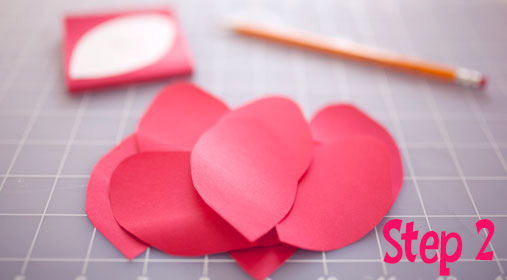
Step 2: Trace the pattern onto your favorite color Post-it® Notes and cut them out. Trace 40 petals for the large rose, 35 petals for the medium, and 30 for the small. On the leaf-colored paper, trace 2-3 leaves per flower.
Pro tip: Position the paper so the V shape of the petal sits on the sticky part of the Post-it® Note. This will be helpful later!
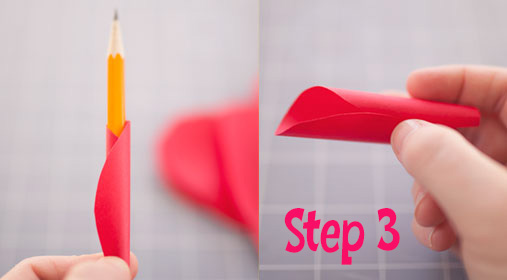
Step 3: Wrap the petals around a pencil (or roll them with your fingers) so they all curl cylindrically

Step 4: Take a 6-10 inch wire, and wrap a petal around it (V side down), tight enough so that the wire doesn’t show. Secure the petal with hot glue.
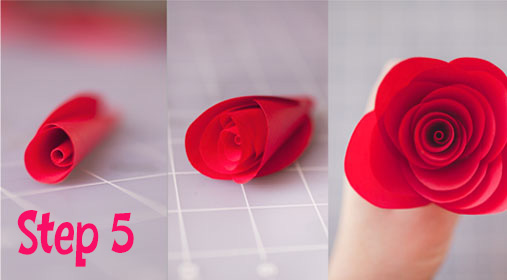
Step 5: Take another petal and wrap it a little looser than the first one around the stem (again, V side down). Secure with hot glue. Keep adding petals!
Pro tip: Move downward and distribute evenly around the rose when adding petals.
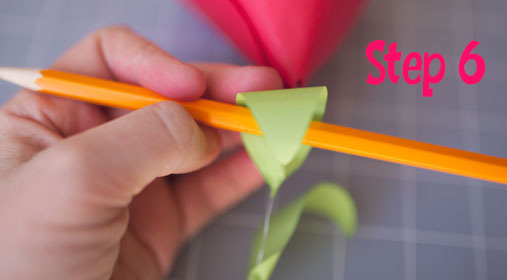
Step 6: Once your blossom is set, glue or tape the leaf cutouts onto the blossom stem. You can give them a natural curl by wrapping them around a pencil.
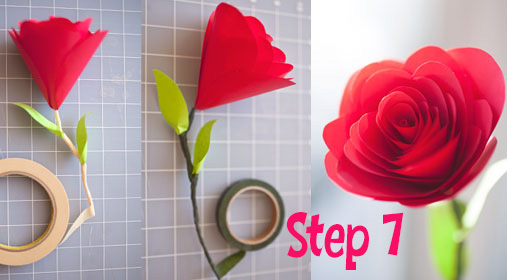
Step 7: Finish up by wrapping the wire with Scotch® Masking Tape first then covering it with green floral tape. Wrap carefully around the leaves!
For more ideas from Post-It click here!
Have you seen some of these fun items Sundance has from Post-it?